
So after fiddling around on this little blog last night ... APPARENTLY I deleted my post from yesterday on delicious breakfast. So i am breaking a rule and posting twice today! I was so mad at myself for not being more careful, but alas I know the recipe for breakfast sandwiches like the back of my hand! Besides it gives me a chance to show off the new signature one day early!
This was also my link up post... so i am fixing my link as well!

Head over to Six Sisters Stuff to see all the lovely links!
My husband and I really love these little handfuls of warm and tasty goodness every morning! This recipe makes a bunch, so make sure you have enough room in your freezer if you would like to try these out. Also, a toaster oven is probably the best and quickest way to reheat/toast these little yummy handfuls!
Here's what you will need:
A dozen eggs
1 Cup Shredded Monterey Jack (optional)
2 loaves of bread (whole grain preferred)
Sliced Cheese - enough for one for every slice of bread
Lunch meat, cut in half - enough for 1/2 slice per slice of bread
Salt and Pepper

Additional Items:
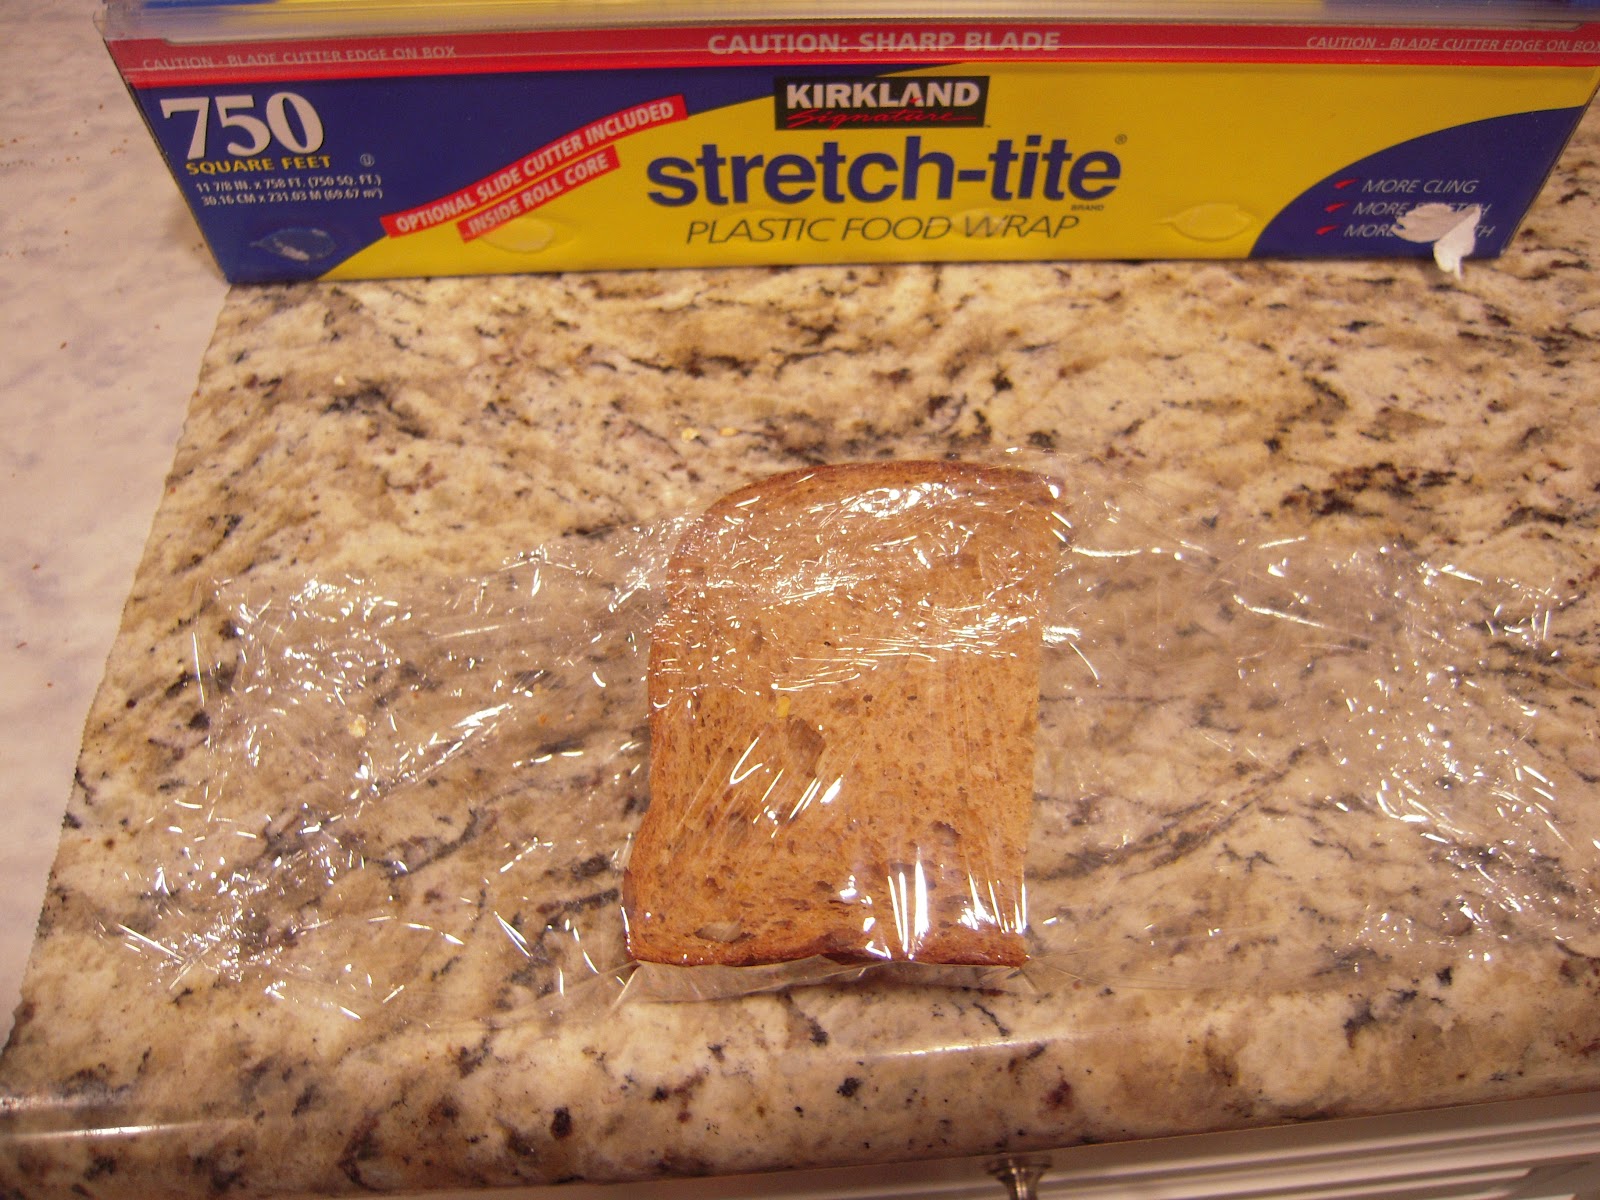
Saran Wrap to wrap individual sandwiches
Parchment paper
Let's make the sandwiches!
Begin by scrambling the eggs. All of them! You will feel like you are feeding an army, but this makes quite a few sandwiches! Here is also where you can add the shredded Monterey jack cheese. I add this because it helps the egg to stick together and who doesn't like cheese?!?

You found me out - this time i used more than a dozen eggs. When i have a few extra eggs i throw them in the mix too!

At this point I usually will set the scrambled eggs in the fridge to cool them a bit. Sometimes i even scramble the eggs the day before. This cuts down on the prep time a little when you go to put together the sandwiches. But cooling the eggs helps to make the eggs stick together a little bit better. I do this for the mess factor and also so i dont burn my fingers as I spoon the eggs onto the sandwiches!
The next step is to put out the parchment paper and to cut the bread slices in half. Lay the slices of bread out on the counter.

Then you can begin adding the cheese slices and then the lunch meat. For the sliced cheese I use a tray that is meant for party trays, but it helps to add variety in the cheese. You could find your own type of cheese and slice it yourself to save on cost. Its up to you!


After all the cheese and meat are added, you are ready for the eggs! I use a tablespoon to scoop the eggs on top of the meat and then add salt and pepper to taste right on top!

Next, stack up the sandwiches and you are ready to wrap!

Once they are all stacked up, you can wrap them individually with saran wrap! I like to use the Costco brand saran wrap. It sticks the best, in my opinion.

The next part is to stack them all up and head to the freezer!


This recipe makes about 35-40 sandwiches and should last 2-3 weeks for 2 people, depending on how many times a week you eat these little warm yummies!
Reheating directions: Defrost these by sticking them in the microwave with the saran wrap opened for 1 minute (for one sandwich) or 1 1/2 minutes (for 2 sandwiches). Then I flip them over and stick them in the toaster oven until evenly toasted on each side. Make sure to watch them the first few times you make these as they will burn and they will not be so yummy!
So after all that... here's my new signature! Have a great Sunday!
